

Showing posts with label cutting. Show all posts
Showing posts with label cutting. Show all posts
Tuesday, July 9, 2013
patchwork quilts are strange
I was lucky to take part in a quilting workshop with the wonderful Kaffe Fassett at the Fashion & Textile Museum in London a few weeks back. I'm new to the world of quilts and I find it a strange process in regard to material use. Cutting up new fabric and rejoining feels a bit un-thrifty, but I am planning to glean the remnants from the cut off corners. A slow arduous gleaning task coming up!

Thursday, December 15, 2011
christmas gleaning
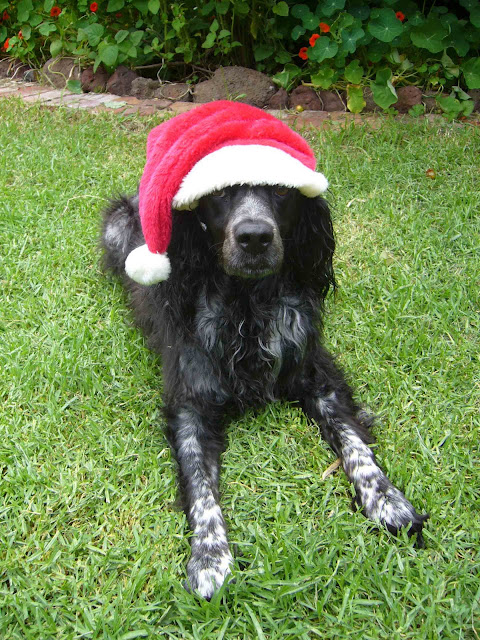
I always like to make time for hand crafted christmas greetings, and I also like to include some dog pics like this gorgeous one of Hugo from last year...
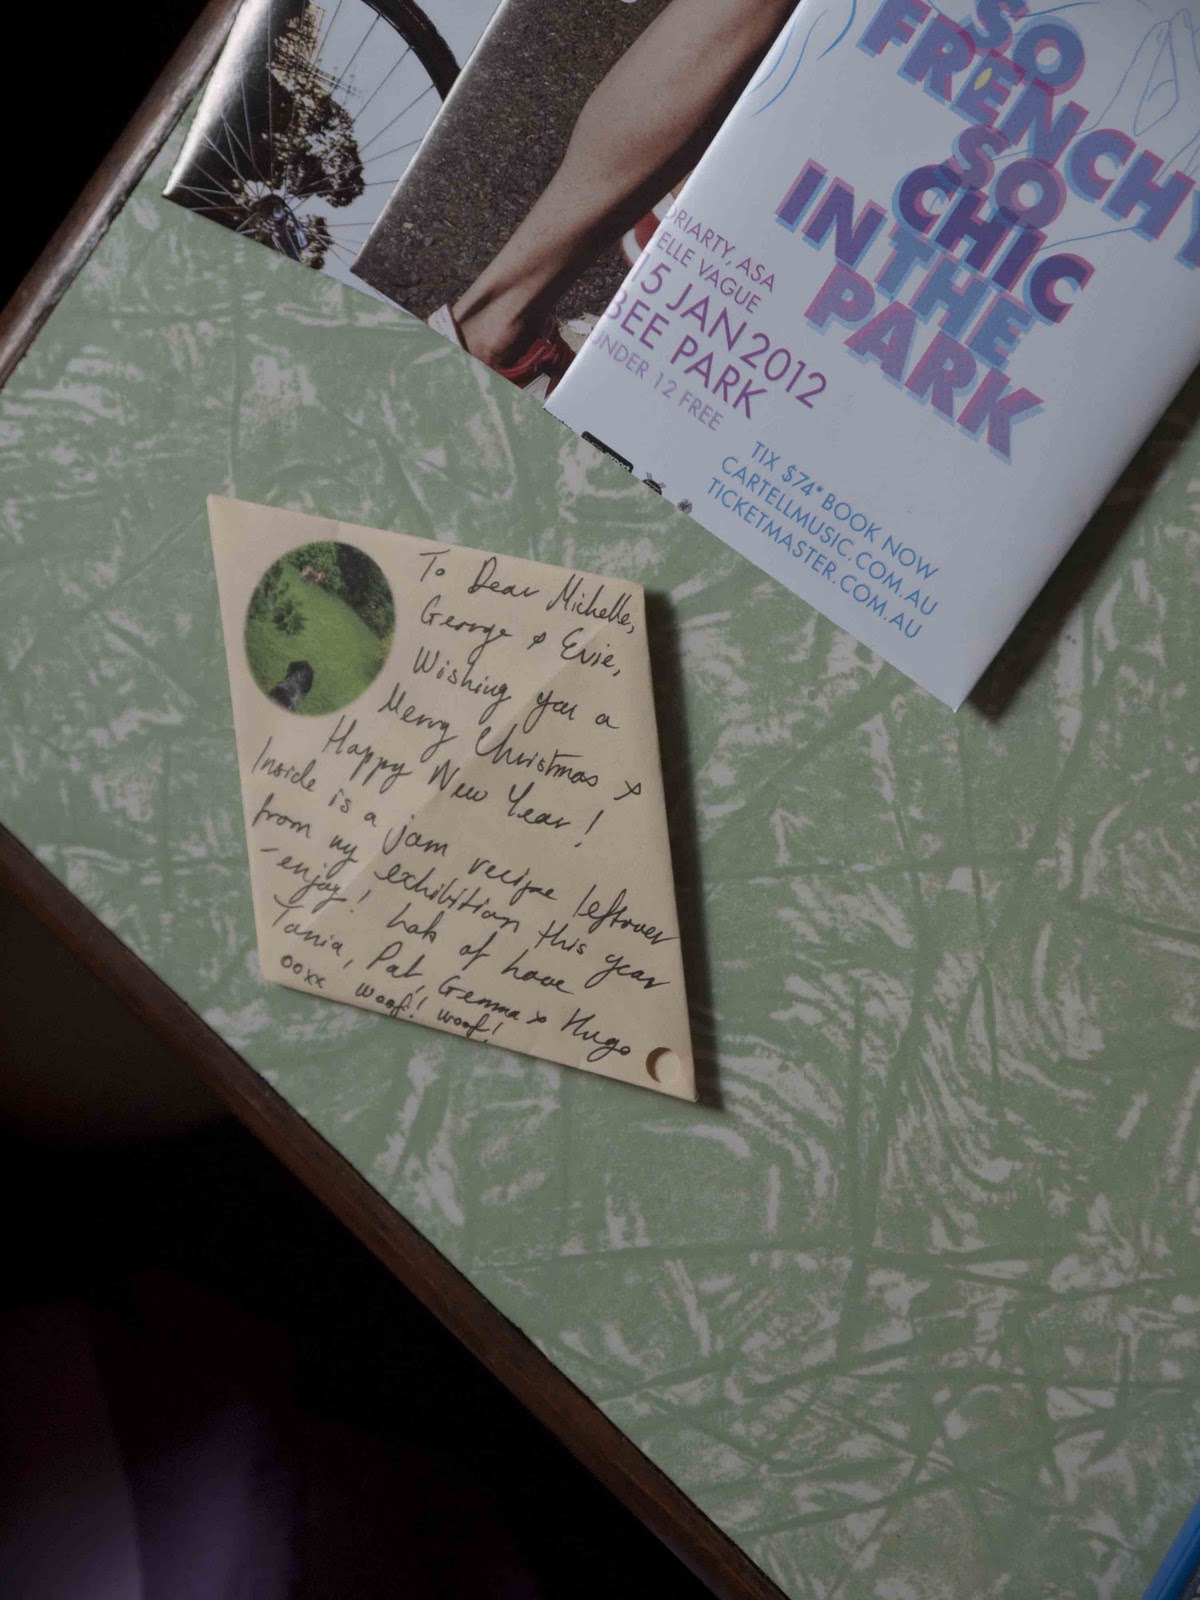
This year I have heaps of plum jam recipes left over from the giveaway in my guest book I had for summer gleaning - the recipe's are a photocopy of my own handwritten one from my cook's organiser...

So I thought I could glean the remnant recipes for this years cards. I used a technique from my favourite origami book - Home Decorating with Origami by Tomoko Fuse...

I folded the A5 recipe sheets into what is described in the book as a letter holder. I printed a cutie picture of Gemma and Hugo looking down the back garden in a strategic spot on the back of the recipe so that I could write the christmas message around it...


For an envelope to put these in, I decided to make my own. A while back pugly pixel blogged about a coolie envelope template from jetpens...which I promptly purchased online! It makes tiny envelopes, so I blew it up on the photocopier to A3 size to also make four bigger sizes...I spray glued the photocopy onto a piece of cardboard and cut it out to make my own template - yay!
I've been collecting any interesting images from magazines, booklets and newspapers so went through the stash to come up with some sweet combo's...


And to finish off these ones which weren't going through the post, I sealed the envelopes with some spiderman stickers which I had about the place - P is a spidey fan :o)

"Amazing power and responsibility!"

This year I have heaps of plum jam recipes left over from the giveaway in my guest book I had for summer gleaning - the recipe's are a photocopy of my own handwritten one from my cook's organiser...

So I thought I could glean the remnant recipes for this years cards. I used a technique from my favourite origami book - Home Decorating with Origami by Tomoko Fuse...

I folded the A5 recipe sheets into what is described in the book as a letter holder. I printed a cutie picture of Gemma and Hugo looking down the back garden in a strategic spot on the back of the recipe so that I could write the christmas message around it...


For an envelope to put these in, I decided to make my own. A while back pugly pixel blogged about a coolie envelope template from jetpens...which I promptly purchased online! It makes tiny envelopes, so I blew it up on the photocopier to A3 size to also make four bigger sizes...I spray glued the photocopy onto a piece of cardboard and cut it out to make my own template - yay!
I've been collecting any interesting images from magazines, booklets and newspapers so went through the stash to come up with some sweet combo's...


And to finish off these ones which weren't going through the post, I sealed the envelopes with some spiderman stickers which I had about the place - P is a spidey fan :o)

"Amazing power and responsibility!"
Thursday, November 17, 2011
what else can the apron panels do?
There are plenty of remnants from the summer gleaning cloth...I spoke about the apron parts here...and we did some gleaning of the cloth here...
I've been working on what my next gleaning steps might be...
To experiment with the component parts of the cloth - the apron panels and the waistband/tie strips, I'm working in 1/2 scale...it means less cloth used when experimenting, it's quicker, and it's easier to get an overall sense of scale and proportion without constantly stepping back...

And it's so darn cute too! I started with a 1/2 scale apron made from the unprinted cloth remnants...

An apron panel makes up the front and back of this top, with waistband strip used for the shoulder panel and a little gusset under the arm to create a square armhole. There are two small cuts into the apron panels to set in the gusset.
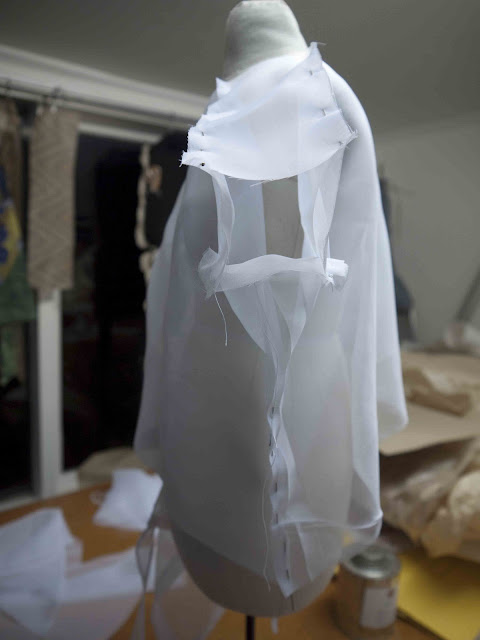
It is modeled by "Claudette" (named by 'super'visor PD), the 1/2 scale mannequin I made while teaching a 2nd year studio about scale earlier this year :o)


Then I'm thinking about how the apron interacts with the top...it shapes the top...it is shaped through interaction with the wearers body...is shaped through use by the wearer...the experience of use shapes the wearers being.
This is related to something about Heidegger's thinging which I was thinking about back here!
I've been working on what my next gleaning steps might be...
To experiment with the component parts of the cloth - the apron panels and the waistband/tie strips, I'm working in 1/2 scale...it means less cloth used when experimenting, it's quicker, and it's easier to get an overall sense of scale and proportion without constantly stepping back...

And it's so darn cute too! I started with a 1/2 scale apron made from the unprinted cloth remnants...

An apron panel makes up the front and back of this top, with waistband strip used for the shoulder panel and a little gusset under the arm to create a square armhole. There are two small cuts into the apron panels to set in the gusset.

It is modeled by "Claudette" (named by 'super'visor PD), the 1/2 scale mannequin I made while teaching a 2nd year studio about scale earlier this year :o)


Then I'm thinking about how the apron interacts with the top...it shapes the top...it is shaped through interaction with the wearers body...is shaped through use by the wearer...the experience of use shapes the wearers being.
This is related to something about Heidegger's thinging which I was thinking about back here!
Tuesday, August 2, 2011
apron parts...to glean or not to glean?

The aim of the summer gleaning workshop was to glean and cut the cloth into to parts and sew these parts into aprons. The apron pattern was the starting point for the design of the print for the cloth. This pattern acts literally and metaphorically as the building blocks for the design.


Sunday, July 31, 2011
gleaning the gleaning cloth
The most exciting part of the summer gleaning workshop was when I said "ok, go for it, time for gleaning!" After choosing which panel they wanted to cut for their apron, each of the team gleaners went for it with their scissors. I was very amused by finally seeing this happening and I couldn't stop giggling! It was evocative of the picking of the plums in the summer in a very delightful way - yay!!!


Friday, July 29, 2011
last day and time for gleaning workshop!
Today is the last day for summer gleaning, so the last chance to pop down to GPO for a look.
From 12.15 today myself and team glean will be cutting the cloth, gleaning it, to make some experimental fashion products. The summer gleaning canopy will be transformed into a pop up shop - yay! Hope to see you down there!


From 12.15 today myself and team glean will be cutting the cloth, gleaning it, to make some experimental fashion products. The summer gleaning canopy will be transformed into a pop up shop - yay! Hope to see you down there!


Friday, July 22, 2011
first cutting and a hothouse
What an exhausting day! Summer gleaning was bumped in this morning, swiftly followed by a flight up to Brissy for Tony Fry's hothouse. Too tired for very much in the way of coherent text, but wanted to show another taste of what's to come...first scary cutting of the cloth in the workroom last weekend, it seems like an age ago!


Wednesday, June 8, 2011
shirty apron
I've been inspired by a skirt made from business shirts in the Japanese pattern/sewing book, "Cool Couture Remake"


I replicated the technique, with some adaptations so that I could make a stand alone apron, from the particular style and proportion of the shirt I had. It's one of hubby's exhausted business shirts - the collars are just starting to fray on the corners of a few that he has worn day in day out for about 6 years. As well as the proportion changing the way the shirt is cut, the design details (i.e. the back pleats into the yoke) are in different places, so need to be worked around. Response through make, and response to material expression is required for this.


I replicated the technique, with some adaptations so that I could make a stand alone apron, from the particular style and proportion of the shirt I had. It's one of hubby's exhausted business shirts - the collars are just starting to fray on the corners of a few that he has worn day in day out for about 6 years. As well as the proportion changing the way the shirt is cut, the design details (i.e. the back pleats into the yoke) are in different places, so need to be worked around. Response through make, and response to material expression is required for this.


Wednesday, February 9, 2011
back on line and free thyme
I've had a very annoying week. My phone line was down so no land line or internet and a few missed calls along the way - grrrr! And last thursday I dropped my laptop on the train, resulting in a cracked screen - more grrrr! I'm getting a nice local guy to fix it and he'll put in a matt screen, so at least I'll have a small improvement with the newbie. At the moment I'm working on the laptop with the lcd pulled out and my old monitor plugged in, so at least I can still use it. I have lots of writing to do - a paper, two proposals and a brief, so I need to get cracking. Some bought time is something I could use right now, free time even better. I'll just have to be content with the memory back in late September 2010 of my offering of free thyme in the RMIT lunch room!

Below is the pics of when I cut the overgrown thyme the day before...

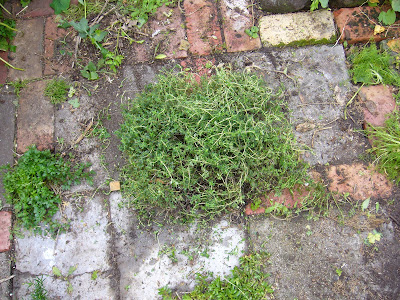

I believe that Mick and Feride have some of this dried in their kitchen - maybe they've used it already!

Below is the pics of when I cut the overgrown thyme the day before...


I believe that Mick and Feride have some of this dried in their kitchen - maybe they've used it already!
Monday, January 24, 2011
Calf leg shirt
Back in August last year when I had a big hiatus from the blog, I was working on this leather garment following an example from traditional american indian clothing. The important findings here related to material expression. The natural shape of the leather has inherant information which guides the making and design process. The neck part of the animal creates a shape similar to the head of a sleeve. I named this approach "whole hide use" and differentiate between this and an approach of zero waste. When this traditional American Indian method of creating garments was conceived, the concept of waste didn't exist. Thinking in zero waste terms would be anachronistic. Being in a headspace where waste doesn't exist or have meaning offers a very different way of looking at the problem.

Conn, R & Denver Art, M 1974, Robes of white shell and sunrise : personal decorative arts of the native American : [catalogue of an exhibition] Denver Art Museum, November 9, 1974-January 19, 1975, Denver Art Museum, Denver.


Tuesday, August 10, 2010
North American "northern plains" moccasins
One of the suggestions from GRC (graduate research conference - where we present our work to a panel of critics), was to look at some ethnographic sources, American Indian/Inuit cultures etc. to see how the skin of animals was traditionally used.
I'm going to experiment with a couple of examples of garments/shoes from the book:
Robes of White Shell and Sunrise (Conn, R & Denver Art, M 1974, Robes of white shell and sunrise : personal decorative arts of the native American : [catalogue of an exhibition] Denver Art Museum, November 9, 1974-January 19, 1975, Denver Art Museum, Denver.) - thanks Sue!
Robes of White Shell and Sunrise (Conn, R & Denver Art, M 1974, Robes of white shell and sunrise : personal decorative arts of the native American : [catalogue of an exhibition] Denver Art Museum, November 9, 1974-January 19, 1975, Denver Art Museum, Denver.) - thanks Sue!

The first example is a pair of moccasins cut from one piece of leather - one piece for each shoe that is! (p. 30 - 31)

I photocopied the pattern onto an A4 sheet, then used a grid to grade it to my size, using the length of my foot as a guide.

The book says that the moccasins are made from buffalo leather. “Since these moccasins are cut from soft, flexible leather, they soon take on the exact shape of the wearer’s feet” (Conn 1974, p. 30) I chose a side of thin vegetable tanned leather that is mouldable, while still having a firm grain that will hold the shoe shape – it’s a bit like belt leather but a thinner split.


I needed to work out a way of sewing the shoe together. The original picture looks like it's an overcast stitch, but I was having a look at a leather craft book and decided to use something fancier.

I found this example of “woven stitch” on page 31 – 33 of “Leathercraft by Hand” (Faulkner, J 1976, Leathercraft by hand, Pelham Books, London.) It is quite simple as the holes are punched in a square formation and 1hole used twice as part of the “weave”.


Here’s my punched holes:


I used a 3mm wide kangaroo thronging that I happened to have at home to lace/sew the shoe together. I’ve never done this before so it was an interesting process. I butted the edges together rather than overlapping like in the leathercraft book.


One side of the centre back seam ended up too long – I didn’t prove/check the pattern as I wanted to use the proportions exactly from the book. The shoe has turned out too large around the foot, so if the size was reduced to make this seam fit, it would improve the fit.

The shoes are a little hard to put on as the cut area which forms the tongue doesn’t quite allow enough room to put the foot in, and the end of the split also becomes a weak point. This weak point tore a little on one of the shoes when first putting it on.
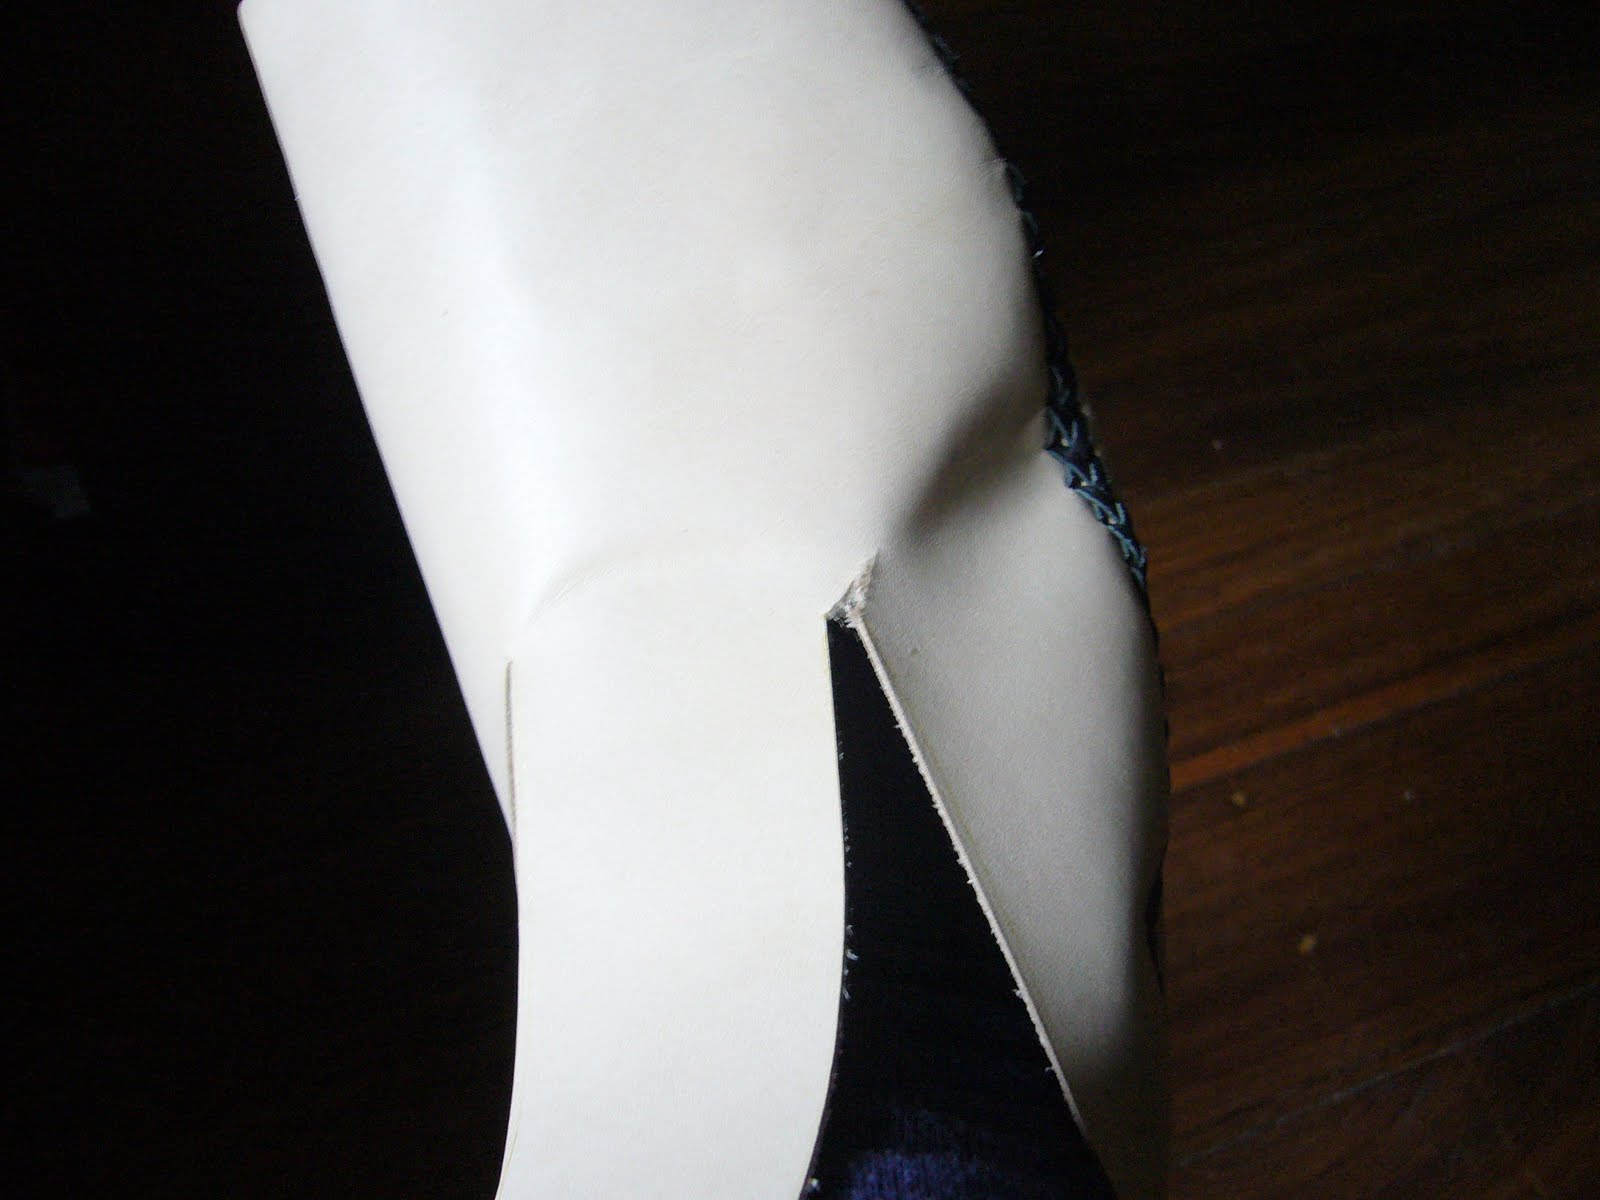
I’m going to wear the shoes as much as I can to see how well they mould to my feet as a test of the properties of the leather. They might not be tight enough for the experiment to work – I may need to make another pair to test further.

I wore them at home all day today and they are actually very comfortable. Updates coming soon!

Subscribe to:
Posts (Atom)